
What Is Wood Joinery? A Beginner’s Guide for Anyone Hiring a Joiner
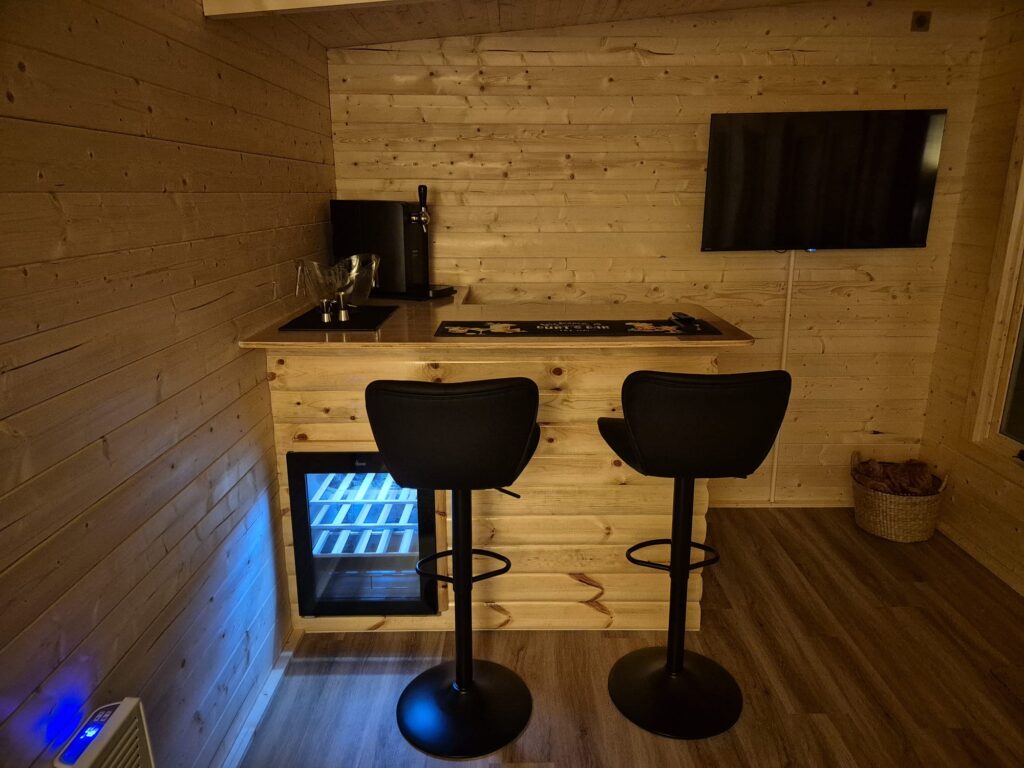
Wood joinery is the craft of connecting pieces of wood together to build furniture, cabinets, storage, and structures, using specific joints designed to hold under different types of stress. It covers everything from simple glued panels to complex interlocking joints, and the method chosen has a huge effect on how strong, how long lasting, and how much a finished piece will cost. If you’re about to hire a joiner for the first time, understanding the basics of wood joinery helps you ask better questions, understand your quote, and know why one piece of furniture costs more than another that looks similar. At Craig Smith Joinery, we’ve spent 30 years matching the right joint to the right job across Nottinghamshire, and this guide breaks down exactly what wood joinery is, the main methods you’re likely to come across, and how to think about choosing between them. What Does “Wood Joinery” Actually Mean? At its simplest, wood joinery is any method used to connect two or more pieces of wood so they behave as one solid piece. This might sound obvious, but it’s a genuinely important part of how furniture is made, because wood on its own doesn’t naturally hold together. It needs to be shaped, glued, pegged, or interlocked in a way that resists the specific forces it will face once it’s in use. A cabinet joint needs to resist different forces than a chair leg joint, and a chair leg joint needs to resist different forces than a simple shelf. This is why there isn’t one single “best” joint in woodworking. Different jobs call for different solutions, and a good joiner chooses based on the specific demands of the piece being built, not habit or convenience. It’s also worth understanding that joinery decisions happen at every scale of a project, not just once at the start. A single wardrobe or cabinet might involve half a dozen different joining decisions across its carcass, shelving, doors, and fixings, each one weighed up separately. This is one of the reasons experienced joiners tend to talk about a project in terms of its individual parts, rather than describing the whole piece as being built with “one type of joint.” Why Wood Joinery Matters More Than People Expect When most people think about furniture quality, they think about the type of wood, the finish, or the overall design. Joinery rarely gets mentioned, yet it’s often the single biggest factor in whether a piece lasts five years or fifty. Two wardrobes can use identical timber and look nearly the same from the outside, but if one is held together with proper joints and the other relies mostly on screws and glue alone, the difference in how they hold up over time will be significant. This is really the main thing we want anyone hiring a joiner to understand: the joinery is where the real craftsmanship lives, even though it’s usually the part you can’t see once the piece is finished. It’s a bit like the foundations of a house. Nobody sees them once the building is finished, and they rarely factor into how attractive a property looks, but they’re the single biggest reason one building stands solidly for a century while another develops problems within a decade. Furniture works the same way. The visible finish tells you almost nothing about how the piece was actually put together underneath. The Main Types of Wood Joints You’re Likely to Come Across There are dozens of named wood joints, but a handful come up again and again in everyday furniture, cabinets, and fitted storage. Here’s a straightforward overview of the ones you’re most likely to hear mentioned. Dowel Joints A dowel joint connects two boards using small round wooden pegs glued into matching drilled holes. It’s a reliable, cost effective joint commonly used in cabinet carcasses and shelving. When made accurately, with well aligned holes and good glue coverage, dowel joints are strong enough for the vast majority of everyday furniture. We’ve covered this in more depth in our guide on how strong dowel joinery actually is. Biscuit Joints A biscuit joint uses small oval shaped wooden discs, glued into curved slots cut into each board. It’s especially good at keeping panels perfectly aligned while glue sets, which makes it a common choice for wardrobe sides, tabletops, and cabinet panels. It’s quicker to make than many other joints, which helps keep costs down on larger fitted pieces. We’ve written a full explainer on what biscuit joinery is and how it works. Mortise and Tenon Joints A mortise and tenon joint is one of the strongest and oldest joints in woodworking. One piece of wood has a slot cut into it, the mortise, and the other has a matching tongue shaped to fit, the tenon, which slots in and is usually glued or pegged in place. This joint handles twisting and pulling forces far better than dowels or biscuits, which is why it’s the standard choice for chairs, tables, and anything load bearing or frequently stressed. Pocket Hole Joints A pocket hole joint uses angled screws driven through a hidden hole into the second piece of wood. It’s fast and simple, making it popular for face frames and quick assembly work, but it relies more on the screw than a glued wood to wood connection, so it’s generally considered less durable long term than dowels, biscuits, or mortise and tenon joints. Domino Joints A Domino joint uses a flat, oval shaped tenon, similar in concept to a biscuit, but stronger and deeper, glued into matching slots. It offers strength close to a traditional mortise and tenon, but can be cut faster with the right tool, making it a popular middle ground for furniture that needs both strength and efficient production time. Beyond these five, there are other joints that show up less often but are still worth knowing about. Dovetail joints, for example, are prized for drawer construction because their interlocking angled shape resists being pulled apart, which is
What Is Japanese Joinery?

Japanese joinery is a traditional woodworking method that connects pieces of wood using precisely cut interlocking shapes, without relying on nails, screws, or glue. Instead of fixings, the strength comes entirely from how accurately the wood itself is shaped to lock together. It’s a craft built on patience and precision, and it’s one of the most respected woodworking traditions in the world. At Craig Smith Joinery, we occasionally draw on Japanese joinery techniques for decorative and feature pieces, where the joint itself becomes part of the design rather than something hidden away. This guide explains what Japanese joinery actually is, how it works, some of its most well known joint types, and how it compares to the joinery methods we use day to day. The Idea Behind Japanese Joinery The core idea behind Japanese joinery is simple to state but hard to master: wood should hold itself together through shape alone. Rather than drilling holes for dowels or cutting slots for biscuits, each piece of wood is cut so precisely that it interlocks with its neighbour, creating a joint that’s held in place by friction and geometry rather than glue or metal fixings. This approach developed over centuries in Japan, largely through temple and shrine building, where structures needed to last for hundreds of years, flex slightly during earthquakes, and be repairable without modern materials. Because metal fixings can rust, weaken, or fail over time, wood only joints became the standard for the most important and long lasting buildings, and the same philosophy carried over into fine furniture making. This isn’t just a historical curiosity either. The reasoning behind it still holds up today. A joint that relies on glue is only ever as good as that glue’s lifespan, and a joint held by a metal fixing is only as good as that metal’s resistance to corrosion and fatigue. Japanese joinery sidesteps both of those weaknesses entirely by removing them from the equation. The wood itself becomes the fixing, which is part of why some of these techniques have survived, largely unchanged, for well over a thousand years. How Japanese Joints Actually Work Unlike a biscuit or dowel joint, which relies on glue to hold two separate pieces together, a Japanese joint is cut directly into the wood itself, so the two pieces become interlocking shapes that fit only one way. Making one generally involves: The result is a joint that can be incredibly strong, and in many cases, can be taken apart and reassembled without damage, which is part of why traditional Japanese buildings can be repaired piece by piece over centuries. What makes this process so demanding is the sheer accuracy required at every stage. There’s no room for the small tolerances that a bead of glue or a metal fixing can quietly absorb. If a cut is a fraction of a millimetre out, the joint either won’t seat properly or won’t hold the way it should. This is why traditional training in Japanese joinery often takes years, with apprentices spending long periods simply practising marking out and cutting before they’re trusted with a joint that will actually be used in a finished piece. The skill isn’t really about knowing the shapes; it’s about developing the hand control to cut them accurately, time after time, without machine assistance. Well Known Types of Japanese Joints There are hundreds of named Japanese joints, developed for very specific jobs. A few of the better known ones include: Joint Name What It Does Typical Use Kanawa tsugi A scarf joint that extends the length of a beam Joining long structural timbers Ari tsugi A dovetail style joint that resists pulling apart Connecting beams and frame members Hako sane tsugi A box style finger joint Joining panels and box corners Sashimono A general term for fine furniture built using interlocking joinery, no nails or glue Cabinets, chests, and fine furniture Kigumi The broader family of interlocking wood joints used across Japanese carpentry Structural and decorative joinery In short: these joints range from purely structural, like beam extensions in temple roofs, to fine furniture making methods used to build entire cabinets without a single nail. Each of these joint families also has countless regional and workshop variations, refined over generations for particular timbers, climates, and building styles. A joint developed for a temple in a humid coastal region, for example, might account for wood movement differently than one developed for a drier inland area. This depth of specialisation is part of why Japanese joinery is often described less as a single technique and more as an entire discipline, with its own vocabulary, tools, and centuries of accumulated problem solving behind it. Why These Joints Are So Highly Regarded Japanese joinery earns its reputation for a few clear reasons: There’s also a subtler reason these joints are so respected within the trade itself. Because there’s no glue or fixing to hide behind, a poorly cut Japanese joint is immediately obvious. It won’t sit flush, it won’t hold tight, or it simply won’t go together at all. That total lack of forgiveness means a finished joint is honest proof of the skill that went into it, in a way that a glued or screwed joint never quite is. Among woodworkers, that’s a large part of why these techniques carry so much prestige. Where We Use Japanese Inspired Joinery We’re honest that Japanese joinery isn’t something we reach for on every job. It’s slow, exacting work that suits specific pieces rather than everyday cabinets and storage. Where it does show up in our workshop is on decorative and feature pieces, where a client wants the joinery itself to be part of the finished look. A visible interlocking joint on a piece of fine furniture communicates a level of craftsmanship that a hidden biscuit or dowel joint simply can’t. It’s less about how strong the joint needs to be structurally, and more about showing genuine hand cut skill in a piece that’s meant to be admired as
How Strong Is Dowel Joinery?
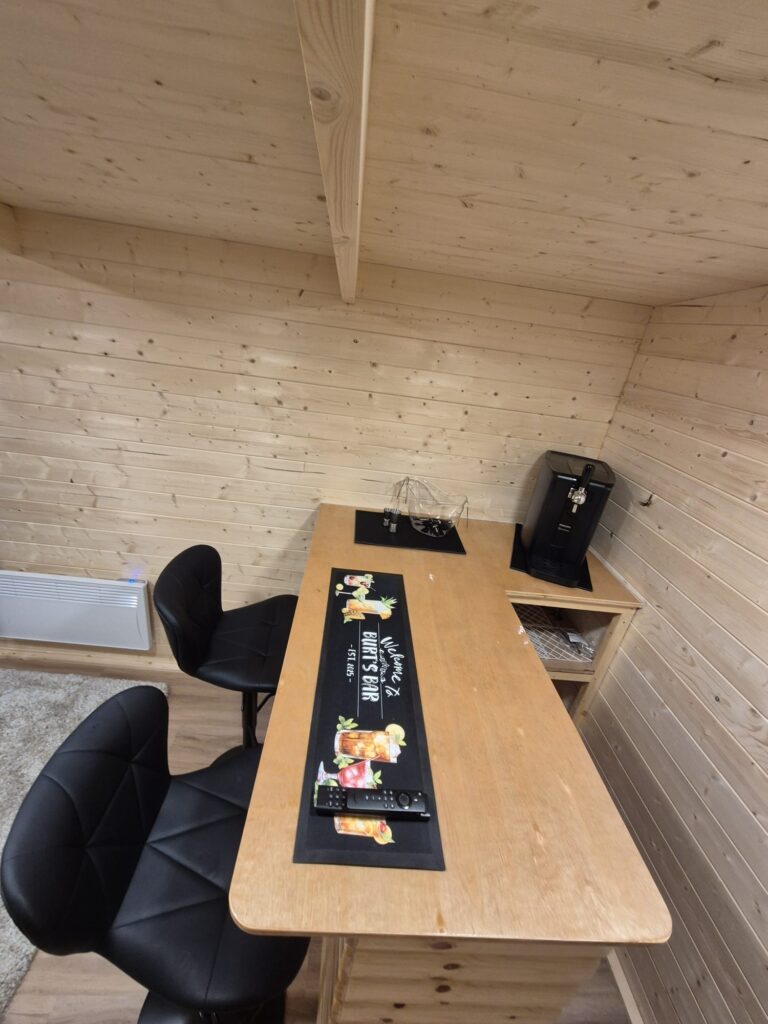
Dowel joinery is a woodworking method that connects two pieces of wood using small round wooden pegs called dowels, glued into matching drilled holes in each board. When it’s made well, a dowel joint can be genuinely strong and reliable for everyday furniture and cabinet work. But the honest answer to “how strong is dowel joinery” isn’t a simple yes or no. The strength depends far more on how the joint is made than on the joint type itself. At Craig Smith Joinery, we use dowel joints regularly on cabinet carcasses and shelving across Nottinghamshire. This guide gives you a clear, no jargon answer on exactly how strong dowel joints are, what affects that strength, and when we’d choose something else instead. What Is a Dowel Joint? A dowel joint works like this: Done well, a dowel joint is hidden, flat, and strong enough for a wide range of furniture and cabinet work. It’s also one of the oldest joining methods still in common use today, having been a standard part of cabinet making for well over a century, long before power tools made drilling accurate holes so much easier. So, How Strong Is a Dowel Joint Really? Here’s the straightforward answer: a well made dowel joint is strong enough for the vast majority of cabinets, shelving, and everyday furniture. It’s not the strongest joint available, but for the loads most furniture actually experiences, it holds up perfectly well over many years. Where dowel joints lose strength is almost never the design itself. It’s the execution. Three things determine how strong a dowel joint actually turns out to be: In other words, dowel joinery’s strength is less about the method and more about the joiner’s precision. A carefully made dowel joint using well aligned holes and full glue coverage will outperform a rushed joint of almost any other type. What Actually Puts Strain on a Dowel Joint It helps to understand what kind of force a joint has to resist, because different joints cope with different types of strain in different ways. Dowel joints are generally tested against three kinds of pressure: Understanding this is useful because it explains why a dowel joint might be perfectly strong in a cabinet, but not the right choice for a chair leg. It’s not that dowels are “weak.” It’s that they’re better suited to some types of stress than others. Dowel Joint Strength Compared to Other Joints Joint Type Typical Strength Best For Skill Needed Dowel joint Good, if made accurately Cabinet carcasses, shelving Medium Biscuit joint Good Panels, tabletops, wardrobe sides Low to Medium Pocket hole joint Moderate Face frames, quick assembly Low Mortise and tenon Excellent Frames, chairs, load bearing furniture High Domino joint Excellent Furniture and joinery needing maximum strength Medium to High The short version: dowel joints sit comfortably in the middle of the strength scale. They beat pocket holes for long term holding power, and they’re a fair match for biscuit joints, but they don’t reach the strength of a mortise and tenon or a Domino joint, both of which use a wider, flatter connection that resists twisting and pulling far better. Where Dowel Joints Are Strong Enough In our experience, dowel joints perform reliably well on: Where We Wouldn’t Rely on Dowels Alone Being upfront about limits matters more to us than pushing one joint for every job. We move away from dowels when: A Real Example from Our Workshop: Why Precision Beats the Joint Type On a recent cabinet carcass project, we used dowel joints to assemble the main structure. Every hole was drilled using a jig to keep the spacing and depth identical across every panel, and each dowel was fully coated with glue before assembly. The result was a carcass that held perfectly square with no movement, even under the weight of a fully loaded shelving run. A lesson from experience: the most common issue we see with dowel joinery, from newer joiners or rushed jobs, is holes drilled off centre or slightly misaligned between the two boards. When this happens, the dowel is forced in at an angle, which strains the glue bond right from the start. Over time, that small misalignment is often where the joint first begins to loosen. Careful, consistent drilling, ideally using a jig rather than doing it by eye, is what separates a dowel joint that lasts decades from one that starts wobbling within a year. This is really the core lesson behind the strength of any joint: the design sets the ceiling, but the execution decides whether you actually reach it. A precisely made dowel joint can comfortably outperform a badly made version of a “stronger” joint on paper. Does the Number of Dowels Matter? Yes, and it’s one of the simplest ways to add strength without changing the joint type at all. A single dowel resists twisting poorly, since the board can still rotate slightly around it. Two or more dowels, spaced apart along the joint, resist twisting far better because the boards are locked at multiple points rather than just one. This is why cabinet sides and shelving joints almost always use several dowels spread across the width of the board, rather than relying on just one in the centre. As a general rule, more dowels, correctly spaced, means a stronger joint overall, right up to the point where the wood itself becomes the limiting factor rather than the joint. DIY Dowel Joints vs Professional Work It’s worth being honest here too: dowel joints are one of the more DIY friendly joints, since dowel jigs are widely available and reasonably easy to use. That said, the difference between a hobbyist dowel joint and a professionally made one usually comes down to three things: how accurately the jig is set up, how consistently it’s used across every joint in a project, and how much glue is applied and cleaned up correctly. On a single shelf, small inaccuracies might not matter much. On a full cabinet
What Is Biscuit Joinery?
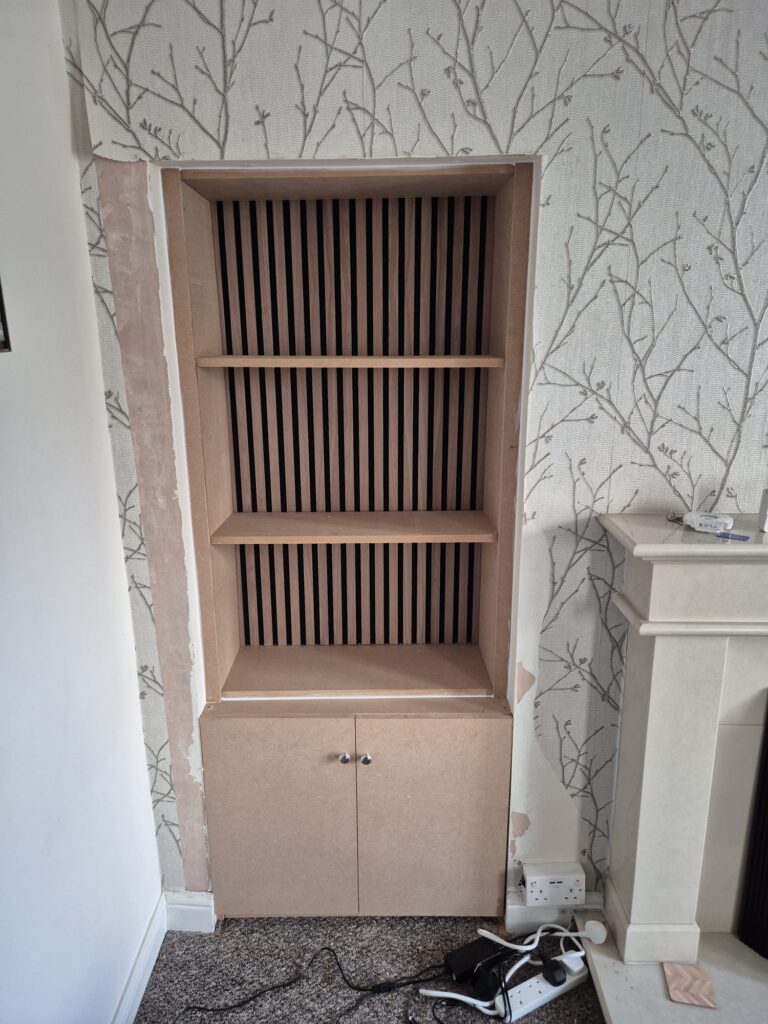
Biscuit joinery is a woodworking method that joins two pieces of wood using small oval discs called biscuits, wood glue, and matching slots cut into each board. The biscuit sits inside both slots at once and swells slightly as the glue sets, pulling the two pieces into perfect alignment and locking them together. At Craig Smith Joinery, we’ve been using biscuit joints in our workshop for over 30 years, mostly while building fitted wardrobes and storage across Nottinghamshire. In that time we’ve used biscuits on hundreds of jobs, trained apprentices to cut them properly, and learned exactly where they shine and where they fall short. This guide gives you a straight, no nonsense answer on what biscuit joinery actually is, how it works, and when it’s genuinely the right call rather than just the quickest one. Where Biscuit Joinery Comes From Biscuit joinery isn’t a new idea. It became popular in workshops from the 1950s onwards, once purpose built biscuit joiners made it possible to cut clean, curved slots quickly and consistently. Before that, joiners relied almost entirely on dowels, or fully hand cut joints like mortise and tenon, both of which take far longer to set up. Biscuit joinery gave tradespeople a faster way to align and strengthen panel joints without sacrificing much in terms of holding power. It’s stuck around for decades because it solves a genuine, everyday problem: keeping two boards level and locked together while glue cures, without needing hours of careful marking out. Over time, the tool itself has also improved. Early biscuit joiners were fairly basic, but modern versions offer adjustable fences, depth settings, and dust extraction ports that make the whole process cleaner and more precise. That evolution is part of why biscuit joinery has remained a standard technique in workshops rather than being replaced entirely by newer methods like dominoes or pocket screws. Each has its place, but biscuits remain a dependable, well understood option for a huge range of everyday joinery tasks. How a Biscuit Joint Actually Works A biscuit joint connects two boards edge to edge, or at a corner, without any visible screws or nails. Here’s the process, step by step: Done properly, you get a strong, hidden joint with a completely flat surface. From the outside, nobody can tell a biscuit joint is there at all, which is exactly the point. There are no visible fixings, no filled screw holes, and no interruption to the grain, which is one of the main reasons biscuit joints are so widely used in furniture and cabinetry where appearance matters as much as strength. It’s also worth understanding why the swelling action matters so much. As the biscuit absorbs moisture from the glue, it expands slightly within the slot, creating gentle internal pressure that helps draw the joint tight and resist minor movement while the adhesive fully cures. This is different from a dry mechanical fixing, since the strength builds gradually as the glue sets rather than being fixed the moment the pieces are pressed together. Why We Reach for Biscuits on Fitted Storage Work After three decades of building fitted wardrobes and storage, biscuit joinery earns its place in our workshop for three main reasons: There’s also a practical workshop reason we like biscuits for fitted storage specifically: most wardrobe and cabinet panels are flat, wide boards being joined edge to edge or at right angles, which is exactly the kind of joint biscuits were designed for. It’s a good match between the tool and the job, rather than using biscuits just because they’re familiar. On top of that, biscuit joints are forgiving to work with under real workshop conditions. When you’re assembling a full wardrobe carcass with multiple panels needing to come together at roughly the same time, a joint that helps self align as you clamp up makes the whole glue up process calmer and less rushed. That matters more than people often expect, since a stressful glue up is where mistakes creep in. Biscuit Joints vs Other Joining Methods Joint Type Best For Strength Skill Needed Speed Biscuit joint Wardrobe panels, cabinet sides, tabletops Good Low to Medium Fast Dowel joint Cabinet carcasses, shelving Good Medium Medium Pocket hole joint Face frames, quick assembly Moderate Low Fast Mortise and tenon Frames, doors, load bearing furniture Excellent High Slow The short version: biscuit joints sit in the middle. They’re stronger than a bare glued edge, faster than a mortise and tenon, and ideal for flat, hidden joints on cabinet and wardrobe panels. None of these joints is universally “best.” The right choice always depends on what the piece needs to survive over its lifetime, and that’s really the whole point of this guide. It’s also worth noting that these methods aren’t always used in isolation. Many well built pieces of furniture combine two or three joining techniques in the same build, using each one where it performs best. A wardrobe might use biscuits for the carcass panels, a stronger joint for the door frames, and screws or brackets for fixing it to the wall. Good joinery is about choosing the right combination, not picking one method and forcing it to do every job. Where Biscuit Joinery Works Best In our experience, biscuit joints are the right tool for: If you picture a wardrobe carcass, most of the joints holding it together are exactly this kind of flat panel connection, which is why biscuits show up so often in fitted storage work specifically. Shelving units, cabinet sides, tabletops built from several narrower boards, and internal wardrobe partitions all fall into this same category, which is part of why biscuit joinery has remained such a staple technique in furniture making rather than a niche one. When We Switch to a Different Joint Thirty years in means we know biscuits aren’t the answer to everything, and being upfront about that matters more to us than pushing one method for every job: Knowing when not to use a technique is just as
What Is Mortise and Tenon Joinery? A Complete Guide
If you’ve come across furniture, doors, or staircases built to last for decades, there’s a good chance mortise and tenon joinery is holding them together. It’s one of the oldest joining methods in woodworking, and one that’s stood the test of time for good reason. At Craig Smith Joinery, we use this technique for specific project types where its strength really counts, working both by hand and by machine depending on what the job needs. This guide walks through exactly what mortise and tenon joinery is, how it’s put together, and where it fits compared to other common joint types. Whether you’re planning a new staircase, a set of doors, or a piece of furniture built to outlast everything else in the room, understanding this joint helps you have a more informed conversation with whoever’s building it. No confusing trade language, just a clear explanation built on real, hands on experience across Nottinghamshire. What Is Mortise and Tenon Joinery? Mortise and tenon joinery is a method of joining two pieces of timber where one piece has a hole cut into it, called the mortise, and the other has a matching projecting piece, called the tenon, shaped to fit snugly inside. When the tenon is inserted into the mortise, the two pieces lock together, creating a joint that resists both pulling and twisting forces far better than many simpler joining methods. This combination of strength and stability is exactly why mortise and tenon joints have been used for centuries in doors, staircases, and furniture frames. It’s a joint built around precise, physical interlocking rather than relying purely on fixings or adhesive, which is part of why well made examples can genuinely last for generations without failing under load. How Does Mortise and Tenon Joinery Work? The process involves shaping two matching parts on separate pieces of timber: Depending on the project, this joint can be cut entirely by hand using chisels and saws, or with machine tools like a router or mortiser for greater speed and consistency. At Craig Smith Joinery, we choose the method based on what the project actually calls for, hand cutting where precision and tradition matter most, and using machine methods where efficiency benefits the client without compromising the joint’s strength. Mortise and Tenon vs Other Joint Types It’s a common question how mortise and tenon compares to other well known joining methods. Here’s a simple side by side comparison. Mortise and Tenon Dovetail Joinery Pocket Hole Joinery Speed Slower, skill dependent Slower, skill dependent Fast Strength Very strong, resists twisting and pulling Very strong, resists pulling Strong for most furniture Visibility Usually hidden inside the joint Often visible, decorative Hidden Best suited for Doors, staircases, structural furniture Drawers, fine furniture Cabinetry, furniture builds Mortise and tenon stands out for handling structural loads and twisting forces particularly well, which is why it’s still the preferred choice for doors, staircases, and furniture frames that need to stay solid under regular daily use. Pros and Cons of Mortise and Tenon Joinery Pros Mortise and tenon joinery offers exceptional strength, particularly against twisting and racking forces that other joints struggle with, making it a natural choice for structural applications like doors, staircases, and furniture frames. It has a proven track record stretching back centuries, with well made joints capable of lasting for generations when built from suitable timber. The joint is also usually hidden once assembled, giving a clean finished appearance without sacrificing any of its underlying strength. For anything that needs to bear real weight or withstand years of movement and use, few joints match its reliability and long term durability across so many applications. Cons The main downside is the time and skill required, particularly when cut by hand, which can make it a slower and sometimes more expensive option than quicker joining methods. Getting the proportions right matters a great deal, a tenon that’s too thin or a mortise that’s poorly sized can seriously weaken the joint’s structural performance. It also depends heavily on suitable timber choice, since weaker or unsuitable wood can undermine even a well cut joint. For lighter, non structural work, other joining methods may be quicker and perfectly adequate without needing this level of complexity or cost. Common Mortise and Tenon Mistakes The mistake we see most often is choosing timber that isn’t strong enough for the structural load the joint needs to carry. Even a perfectly cut mortise and tenon joint will underperform if the timber itself can’t handle the forces acting on it, particularly on load bearing applications like staircases or door frames that face daily wear and pressure over many years. Choosing the right timber species and grade for the job is just as important as the accuracy of the cutting itself. It’s a step that’s easy to overlook, especially on projects where appearance takes priority over structural performance, but getting it wrong can lead to early joint failure regardless of how well the mortise and tenon were shaped. An Example From Our Work On a recent staircase project, mortise and tenon joints were used to connect the newel posts and handrail sections, an application where twisting forces are a real, everyday concern as people use the stairs. Selecting a suitably strong timber species was the first priority, followed by precise hand cutting to make sure each tenon fitted its mortise tightly without excess play. The result was a staircase structure that feels solid underfoot, with no movement or creaking, built to handle years of daily use without the joints loosening or working apart over time. FAQs Is mortise and tenon joinery stronger than other joint types? Mortise and tenon joinery is particularly strong against twisting and racking forces, which many other joints don’t handle as well. This makes it especially suited to structural applications like doors, staircases, and furniture frames that face regular movement and pressure. While joints like dovetail or pocket hole work well for their own specific applications, mortise and tenon remains a preferred choice wherever
What Is Dovetail Joinery? A Complete Guide
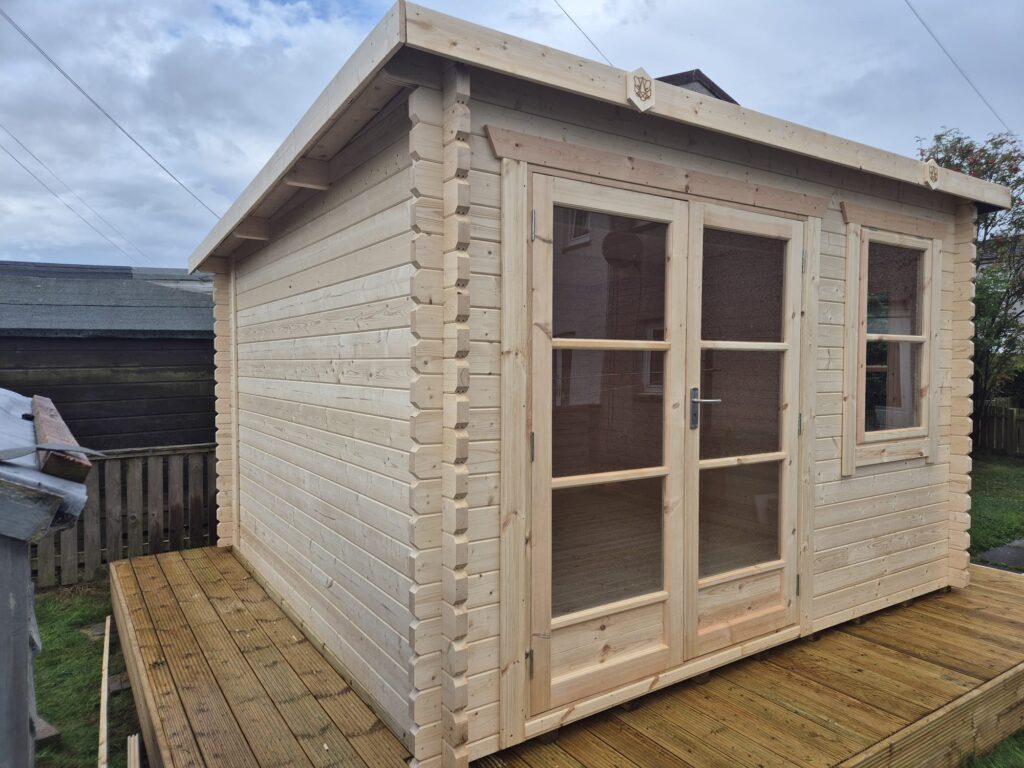
If you’ve been looking at furniture or fitted storage and noticed a striking, interlocking pattern where two pieces of timber meet, you’ve likely spotted dovetail joinery. It’s one of the oldest and most respected joining methods in woodworking, valued for its strength and its distinctive appearance. At Craig Smith Joinery, dovetail joinery is a technique we use often, hand cut the traditional way, across a mix of drawer boxes, fine furniture, and fitted cabinetry. This guide explains exactly what dovetail joinery is, how it works, and where it fits compared to other joining methods. Whether you’re planning a bespoke piece of furniture or simply want to understand the term before speaking with a joiner, this breakdown covers everything in plain, straightforward language. No confusing trade jargon, just a clear explanation drawn from three decades of hands on experience cutting these joints by hand across countless projects. What Is Dovetail Joinery? Dovetail joinery is a method of joining two pieces of timber using a series of interlocking wedge shaped cuts, known as pins and tails. These shapes fit together tightly, creating a mechanical connection that resists being pulled apart, even without glue. The angled shape of each cut means the joint physically locks the two pieces together, rather than relying purely on an adhesive bond. This is what makes dovetail joinery so well suited to drawer boxes and furniture that faces regular pulling and stress over the years. The distinctive fan shaped pattern left visible on the finished piece has also become a mark of quality craftsmanship, often left exposed intentionally rather than hidden, since it shows the skill involved in cutting it accurately by hand, piece by piece, joint by joint. How Does Dovetail Joinery Work? Cutting a dovetail joint involves marking out and cutting two matching sets of shapes on each piece of timber: Hand cutting dovetails, the method used at Craig Smith Joinery, involves careful marking with a marking gauge and precise sawing along each line, followed by cleaning out the waste with a chisel. Getting the angles and spacing right takes practice, which is why dovetail joinery is often seen as a benchmark skill in traditional woodworking. Done properly, the fit should be snug enough to hold together under light pressure alone, before any glue is even added for extra strength and long term durability. Dovetail Joinery vs Other Joint Types Homeowners often want to know how dovetail joints compare to faster, more modern joining methods. Here’s a simple comparison across the three most common options. Dovetail Joinery Pocket Hole Joinery Dowel Joinery Speed Slower, skill dependent Fast Moderate Strength Very strong, mechanical lock Strong for most furniture Good with accurate alignment Visibility Often visible, decorative Hidden Hidden Best suited for Drawers, fine furniture Cabinetry, furniture builds Furniture and cabinetry Dovetail joinery takes longer to cut, especially by hand, but the strength and appearance it offers make it the preferred choice for drawers and furniture built to last for generations, rather than quicker fitted work where speed matters more than tradition. Pros and Cons of Dovetail Joinery Pros Dovetail joinery offers a level of strength that’s hard to match with other joining methods, since the interlocking shape mechanically resists pulling forces rather than relying only on glue or fixings. This makes it especially well suited to drawer boxes, which face repeated stress from opening and closing over many years. It also has genuine visual appeal, the fan shaped pattern is often left exposed as a feature rather than hidden away, showing off the craftsmanship involved. For furniture intended to last a lifetime or be passed down, dovetail joinery is widely regarded as one of the most reliable and respected choices available, particularly when cut by hand rather than by machine, using traditional tools and methods. Cons The main drawback of dovetail joinery is the time and skill it takes to cut properly, particularly by hand, which makes it a slower and often more costly option compared to quicker joining methods. Getting the fit right takes practice, and mistakes in spacing or angle can weaken the joint or spoil its appearance. It’s also not always necessary for every project, simpler furniture or hidden cabinetry work may not need the extra strength or visual detail dovetails provide. For projects where speed and budget matter more than tradition and visible craftsmanship, other joint types are sometimes a more practical choice for the job. Common Dovetail Joinery Mistakes The most common mistake we come across is cutting the joint too loose or too tight. A joint cut too loose won’t hold securely and can work apart over time, especially on drawers that see regular use. A joint cut too tight can split the timber when it’s tapped together, or make assembly unnecessarily difficult and risk damaging the wood. Getting the fit right takes careful marking out and steady, accurate sawing along each line, with small adjustments checked as you go rather than rushed. It’s one of the reasons hand cut dovetail joinery is considered a genuine craft skill, since consistency across every pin and tail on a piece takes real practice to master properly and reliably, project after project. An Example From Our Work On a recent bespoke furniture piece, dovetail joinery was hand cut for a set of drawer boxes designed to withstand daily use for many years to come. Careful attention to the spacing and fit of each pin and tail meant the drawers slid smoothly and held together firmly without needing any additional fixings. The finished joints were left visible as a feature, showcasing the traditional craftsmanship behind the piece and giving it a timeless, high quality appearance that machine cut alternatives simply can’t replicate in the same way, no matter how precise the machinery involved. FAQs Is dovetail joinery stronger than other joint types? Yes, dovetail joinery is generally considered one of the strongest joining methods available, thanks to its interlocking mechanical design. Unlike joints that rely mainly on glue or fixings, the pins and tails
What Is Pocket Hole Joinery? A Complete Guide
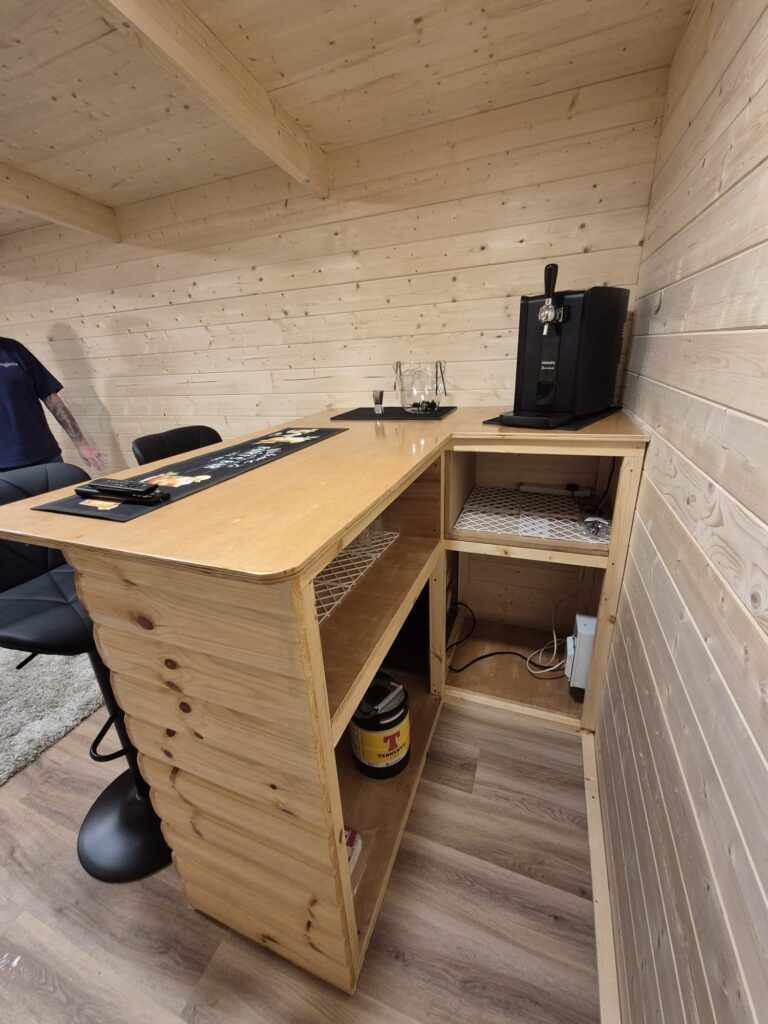
Pocket hole joinery is a method of joining two pieces of timber by drilling an angled hole into one piece, then driving a screw through that hole into the second piece. It creates a strong, hidden connection without needing glue to cure or complex hand cut joints. It’s a fast, reliable way to build strong joints, which is why it’s a regular technique in furniture making and fitted work. How Does Pocket Hole Joinery Work? The process is simple in principle: The angled hole means the screw goes in at a slant rather than straight through, which is what gives the joint its strength and holds the pieces firmly in place. Pocket Hole Joinery vs Other Joint Types Homeowners often ask how pocket hole joints compare to more traditional methods. Here’s a simple comparison. Pocket Hole Joinery Dowel Joinery Mortise and Tenon Speed Fast Moderate Slower, more skill needed Strength Strong for most furniture and cabinetry Good, depends on alignment Very strong, traditional choice Visibility Hidden once assembled Hidden Can be visible or hidden Best suited for Furniture builds, cabinetry, fitted storage Furniture and cabinetry Structural and heirloom pieces Each method has its place. Pocket hole joinery works well for most furniture and cabinetry projects, while mortise and tenon suits pieces built to last generations with a more traditional finish. Pros and Cons of Pocket Hole Joinery Pros Cons Common Pocket Hole Joinery Mistakes The most common issue we come across is getting the pilot hole angle or depth wrong. If the hole isn’t drilled at the correct angle or depth, the screw won’t pull the joint together properly, which weakens the whole connection. This is one of the easiest mistakes to make without the right setup, and one of the easiest to avoid with a bit of care and the correct jig settings. An Example From Our Work On a recent fitted storage project, pocket hole joinery was used to build the internal carcasses quickly and accurately, while keeping the joints hidden from view once the units were installed. Getting the pilot holes set correctly from the start meant every panel lined up cleanly, saving time during assembly and giving a solid, long lasting result. FAQs Is pocket hole joinery strong enough for furniture? Yes, for most furniture and cabinetry projects, pocket hole joinery creates a strong, reliable joint. It’s not usually the first choice for heavy structural work, but it holds up well for everyday furniture and fitted storage. Do I need special tools for pocket hole joinery? Yes, a pocket hole jig is needed to drill the angled holes accurately, along with the correct screws designed for this type of joint. Is pocket hole joinery as strong as mortise and tenon? Mortise and tenon joints are generally stronger and more traditional, especially for structural or heirloom pieces. Pocket hole joinery is a faster, still strong option that suits most everyday furniture and cabinetry. Can pocket hole joints be hidden? Yes, once assembled, the screw and hole are hidden from view on the inside or underside of the piece, so the finished project looks clean. Final Thoughts Pocket hole joinery is a practical, strong way to join timber quickly, and it’s a technique we use regularly across our furniture builds. Getting the pilot hole angle and depth right from the start makes all the difference to how solid the finished joint is. Whether it’s the right choice for your project depends on what you’re building and how it needs to perform. Thinking about a furniture build or fitted storage project? With 30 years of hands on experience across Nottinghamshire, Craig Smith Joinery uses techniques like pocket hole joinery to get strong, lasting results. Get in touch for a quote and we’ll talk through what your project needs.
What Is First Fix Joinery? A Complete Guide
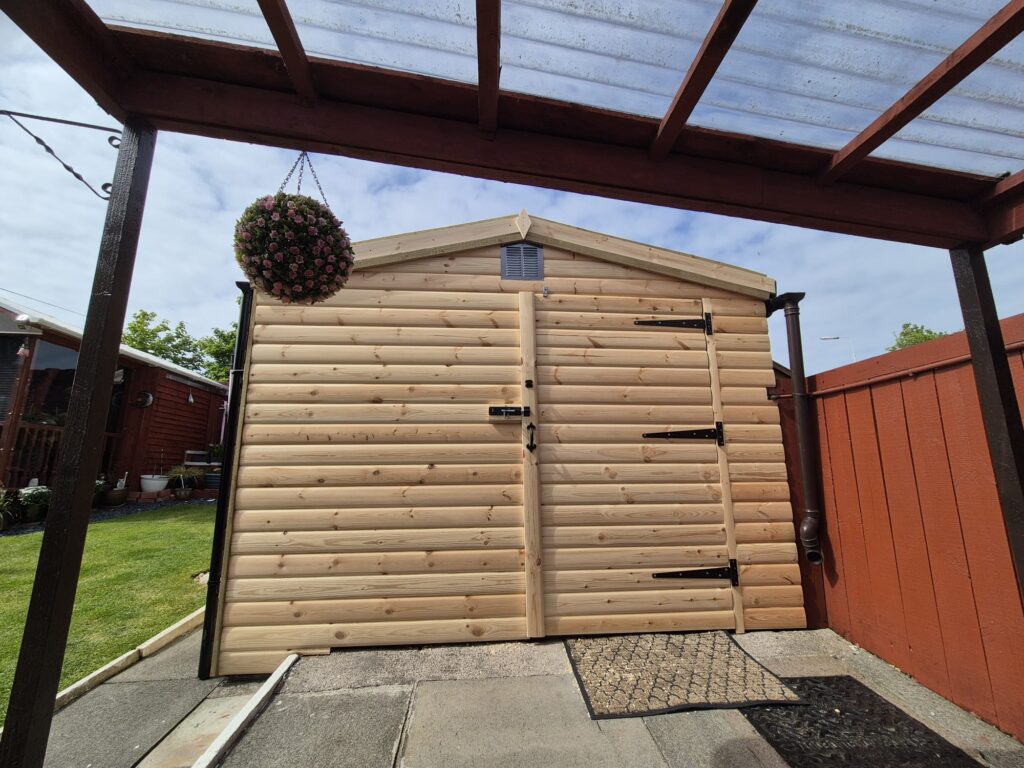
If you’re planning an extension, renovation, or new build, you’ve probably come across the term first fix joinery and wondered exactly what it means. At Craig Smith Joinery, we’ve carried out first fix work across Nottinghamshire for over 30 years, so here’s a clear, straightforward explanation, no trade jargon. What Is First Fix Joinery? First fix joinery is the structural carpentry work carried out before walls are plastered and floors are finished. It’s called “first fix” because it happens first, before any of the visible, decorative joinery goes in. In simple terms, first fix is the skeleton of a building’s timberwork. It includes anything that needs to be in place before plasterers, electricians, and plumbers finish their work, and before the room starts to look “finished.” First Fix vs Second Fix Joinery A lot of homeowners get these two mixed up, so here’s a quick side-by-side comparison. First Fix Joinery Second Fix Joinery When it happens Before plastering and flooring After plastering, once walls and floors are finished What it includes Stud walls, floor joists, staircases, door linings Skirting boards, fitted units, doors, architrave Visible to the client? Mostly hidden once complete Fully visible, finished look Focus Structure and support Finish and appearance Both stages matter just as much as each other. Good first fix work sets up everything that follows, including any bespoke cabinetry or fitted storage added later. What Does First Fix Joinery Actually Involve? Depending on the project, first fix joinery can include: Most first fix jobs involve a mix of all of these, rather than just one task on its own, especially on extensions and full renovations. How Long Does First Fix Joinery Take? For a standard extension or renovation, first fix work typically takes a few days to a week, depending on the size of the project and how much structural work is needed. Larger builds or more complex layouts can take longer. Common First Fix Mistakes to Avoid One of the most common issues we come across, whether it’s from DIY work or other trades, is not checking timber moisture and drying properly before fixing it in place. Timber that’s too damp when it’s fixed can shrink, warp, or crack later on, which causes problems once the second fix and finishing work goes in. A few other things worth getting right at this stage: Getting first fix right the first time saves a lot of headaches (and cost) further down the line. What Does First Fix Joinery Cost? Costs vary depending on the size and complexity of the job, but as a general UK guide, first fix joinery is often priced by the day or as part of a wider carpentry package, rather than as a standalone fixed cost. Simple stud walls and door linings sit at the lower end, while jobs involving staircases or more complex floor structures cost more due to the extra time and materials involved. For an accurate figure, it’s always best to get a quote based on your specific project, since timber costs and site conditions can shift the price quite a bit. A First Fix Project From Our Experience One recent renovation we worked on involved building new stud partitions to divide a large open room into two separate spaces, along with new floor joists to level out an uneven original floor. Getting the timber properly acclimatised to the site before fixing was key here, since the property had damp issues that needed addressing first. Once first fix was complete, it set up perfectly for the fitted storage that went in during second fix. Good catch, sorry about that. Here’s the corrected FAQ section (this fixes it going forward too): FAQs Is first fix joinery the same as carpentry? First fix joinery is a type of carpentry work, specifically the structural timber work done early in a build. Carpentry is the broader trade that covers both first and second fix work. Can I skip first fix and go straight to second fix? No. First fix creates the structure that second fix relies on. Skipping it isn’t possible on any proper build or renovation. Do I need a joiner for first fix, or can a builder do it? Many builders handle basic first fix work, but a specialist joiner brings more precision, especially useful if you’re planning bespoke cabinetry or fitted storage later, since the first fix needs to be set up correctly to support it. How do I know if first fix work has been done properly? Everything should be level, plumb, and securely fixed, with dry, properly acclimatised timber. If in doubt, an experienced joiner can inspect it before plastering covers it up.. Final Thoughts First fix joinery might be the part of a build nobody sees once the plaster and paint go on, but it’s what everything else depends on. Get it right, with properly dried timber, accurate levels, and good coordination with other trades, and the second fix, from skirting to bespoke fitted storage, goes in smoothly. Get it wrong, and problems show up later, often after the walls are already closed up. If you’re planning a renovation or extension in Nottinghamshire, it’s worth having someone experienced handle first fix from the start, especially if bespoke cabinetry or fitted storage is part of the plan further down the line. Thinking about an extension, renovation, or bespoke fitted storage project? With 30 years of hands-on experience across Nottinghamshire, Craig Smith Joinery handles both first and second fix work to the same high standard. Get in touch for a quote and we’ll talk through what your project needs.